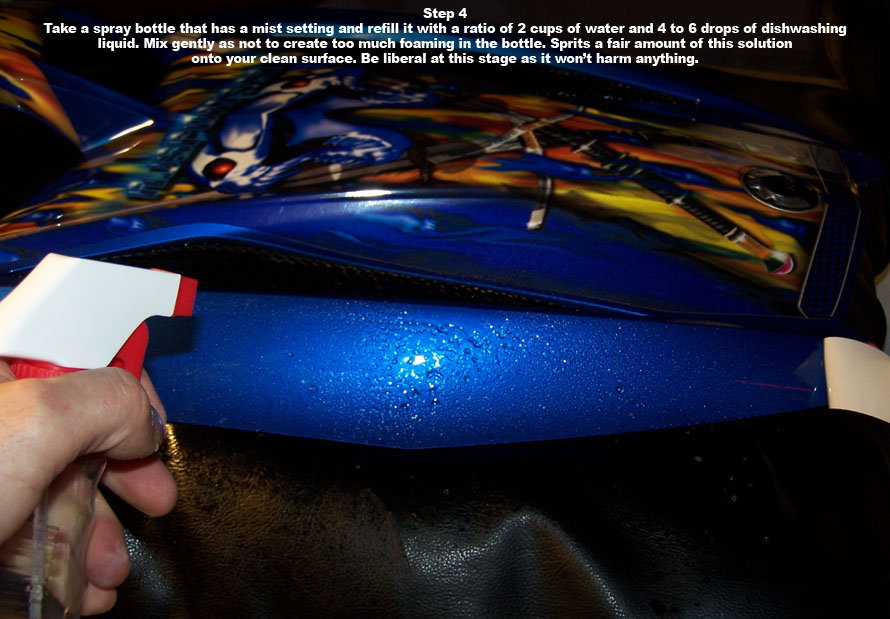
As these images are old, they still offer a visual of my procedure. Wet application is only for very smooth surfaces. Otherwise, please apply dry, particularly the new seadoo Spark graphics. More information at bottom of page.

Please contact me if further assistance is required.
ADDITIONAL TIPS ON DRY INSTALL
1) Be sure to clean the subsurface first. I use an automotive cleaner called Tumbler, as it removes wax, grease and silicon. This will insure good adhesion.
2) I would also suggest doing the installation in a shaded, cool area. Once it's done, you can place it in the sun and let nature assist in the curing.
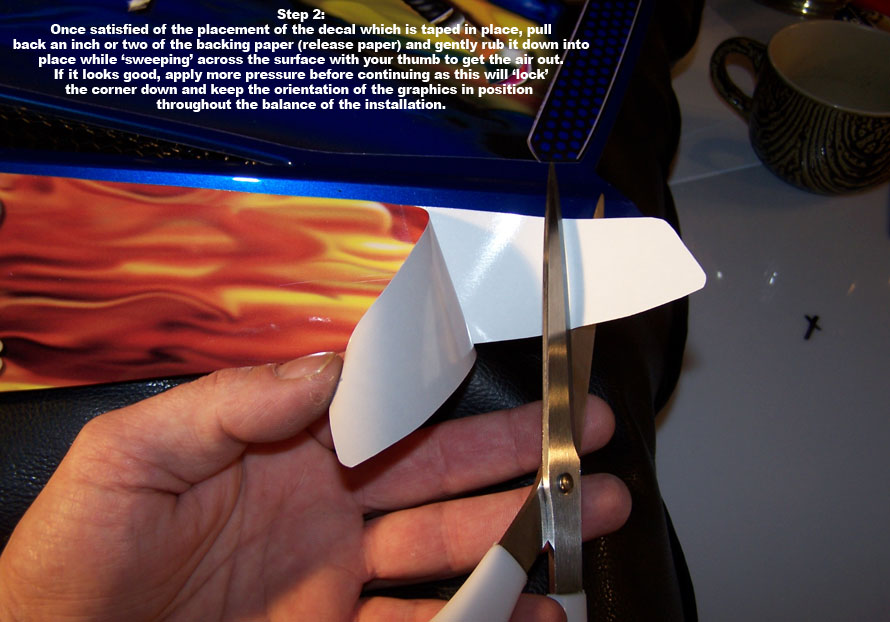
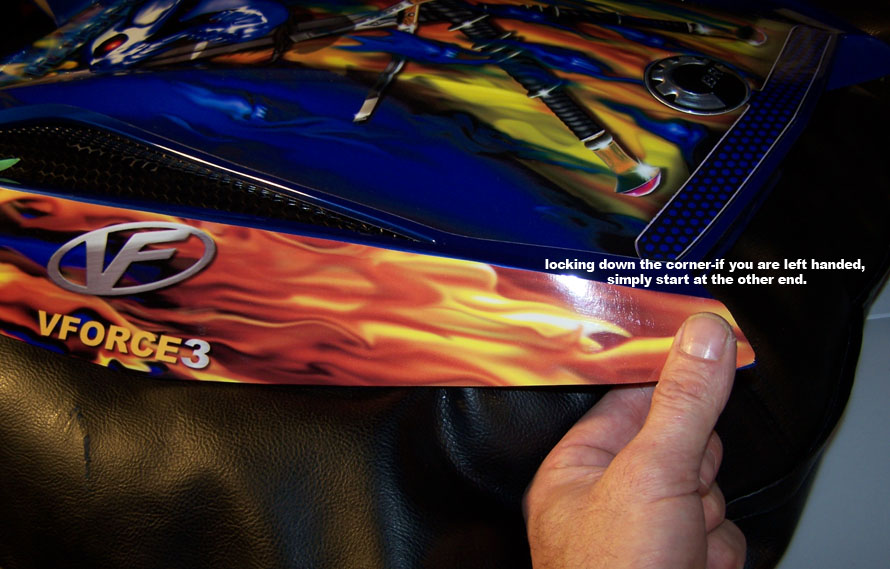
As all my kits are fully cutout from the background, you have the opportunity to tape everything into place first, using painters tape. This make it easy to get all the panels setup, to achieve orientation and balance. Then peel back and cut off an inch or two of backing paper from a corner. Set that part of the graphic down, then you can do the 'hinge' method of applying.
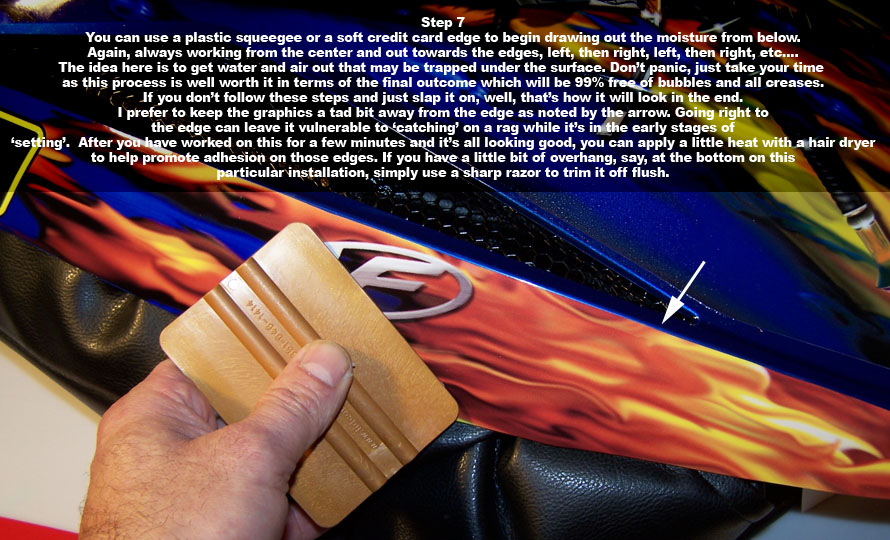
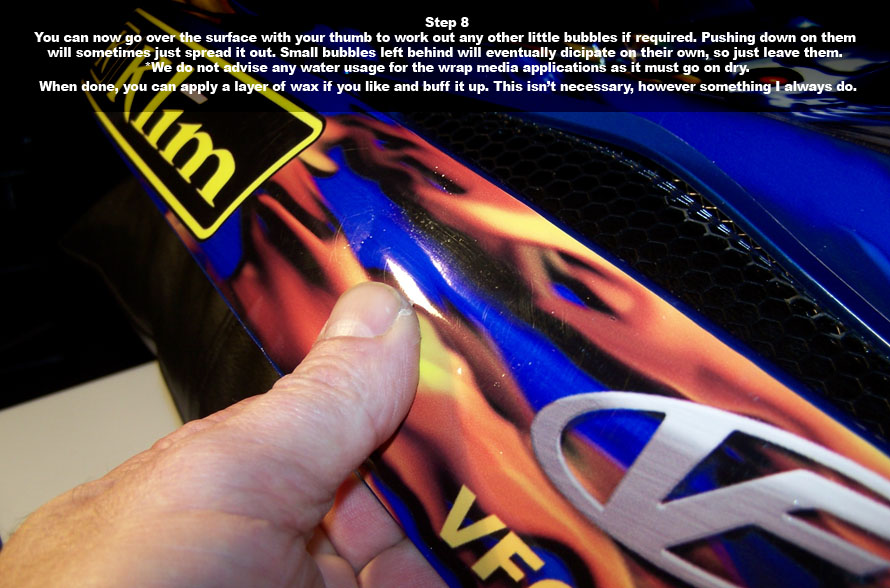
3) The media will not require water, nor heat. Only use heat from a hair dryer if you need to conform over or through a tough radius, which will be a rare occurrence on the stealth like panels of the Spark . I suggest dry, as this media works best that way because of the underlying plastic which has a slight texture to it (same as snowmobiles). Water may be left behind, but doesn't stay forever as it will escape. Smooth plastics and fiberglass bodies are different, and easier to squeegee the water/air out. Therefore, if it's not smooth like glass, keep to the dry method. Plus, the panels aren't that big and should make for easy handling.
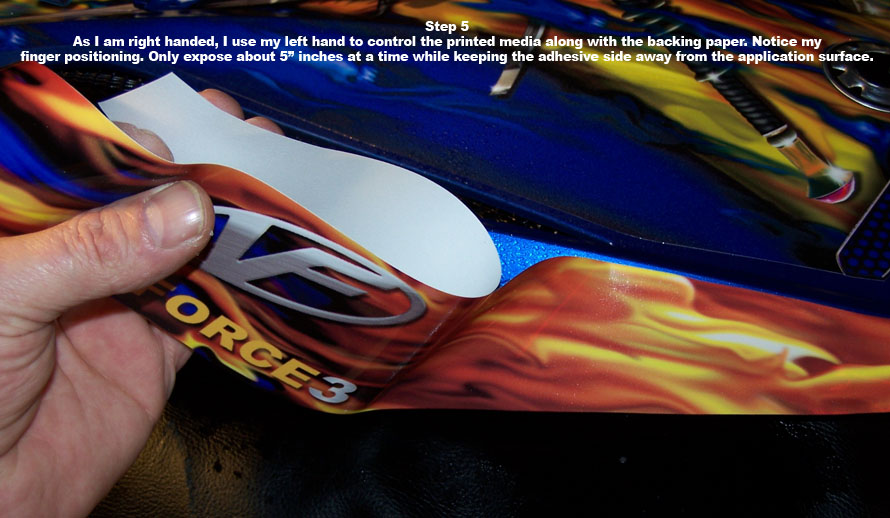
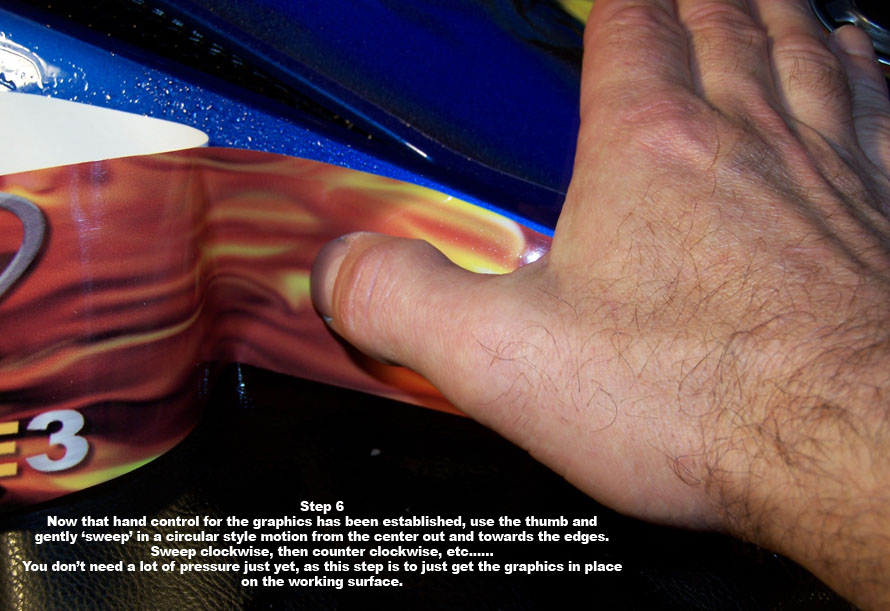
I sweep my thumb from left to right across the surface as I install, never letting any portion of the panel touch the surface until I decide it should.

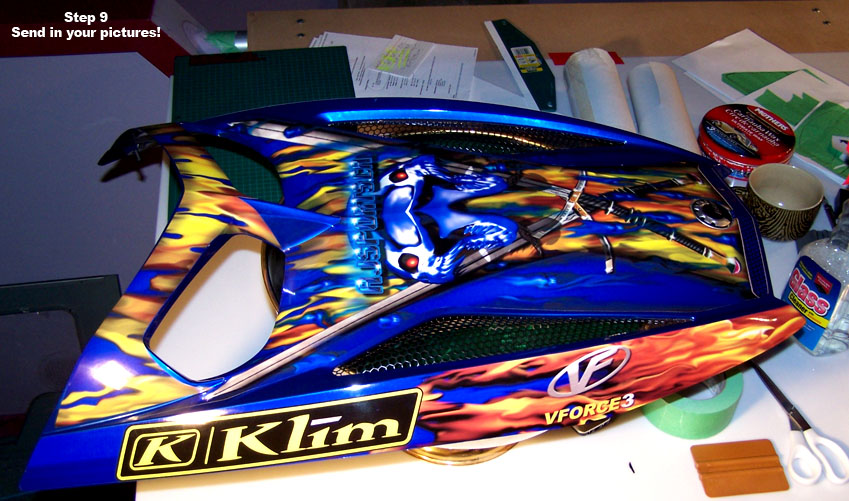
Send in images of your installed
graphics within two weeks of receipt
and you will be entered into the annual
kit giveaway. As a bonus, should you
damage any panels while you own the boat, you will also be eligible to have them replaced at cost, providing you
are the original owner.